

This post was originally published on this site.
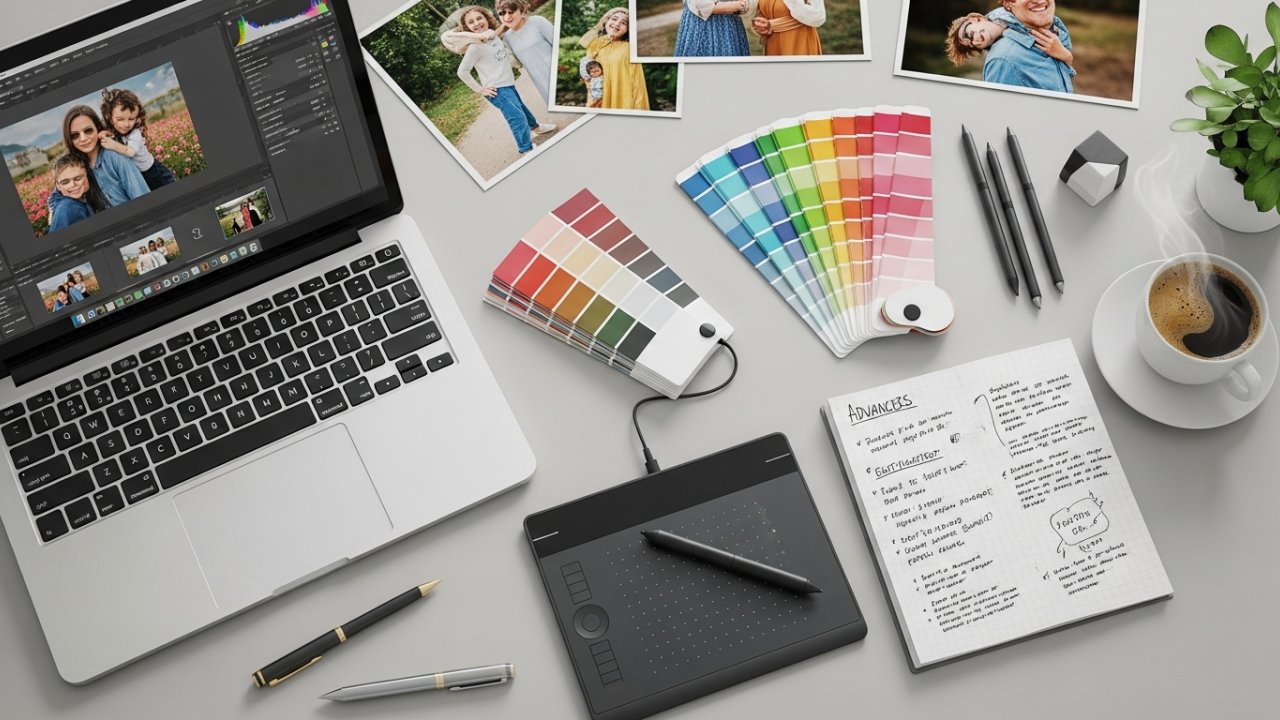
If you’re looking to make effective video edits, it’s vital to start with the right editing software that fits your needs and budget. Organizing your footage into clearly labeled bins can save you time later. Once your clips are set, you’ll want to apply basic editing techniques like trimming and adding transitions. Comprehending how to improve visual quality is fundamental. But there’s more to reflect on as you tailor your edits for different platforms. Let’s explore these steps in detail.
Key Takeaways
- Choose user-friendly editing software that is compatible with your operating system and fits your budget for a smooth editing experience.
- Organize your footage by creating clearly labeled bins for A-roll, B-roll, and audio files to streamline the editing process.
- Utilize basic editing techniques such as trimming clips and adding transitions to improve the flow and coherence of your video.
- Enhance visual quality through color correction and adjustments in contrast and brightness, ensuring a consistent look throughout.
- Gather feedback from peers using tools like Dropbox Replay and implement constructive insights to improve your final product.
Choosing Your Editing Software
Choosing the right editing software is vital for a smooth editing experience, especially for beginners. When you’re learning how to make good edits, opt for user-friendly options like Podcastle or Riverside. These tools offer intuitive interfaces and AI-powered features to simplify the process.
Make sure the software’s compatible with your computer’s operating system to avoid issues. Look for crucial features like drag-and-drop functionality, background noise removal, and easy access to tools that facilitate your workflow.
Consider your budget, as many affordable options exist that don’t compromise on key features. Finally, research and read reviews on various editing tools to understand their strengths and limitations, helping you decide which software best suits your needs for how to make TikTok edits and more.
Once you’ve chosen your editing software, the next step is organizing your footage and audio. Start by importing all your clips and creating clearly labeled bins for A-roll, B-roll, and audio files, making them easy to access.
Modify audio channels early, ensuring sound elements are balanced to avoid complications later. Establish a logical sequence by creating assembly edits that outline your video’s structure, helping visualize how clips fit together.
Use metadata tags or color coding to mark the best takes or key moments, which will streamline your final edits. Regularly back up your organized files to prevent data loss.
Basic Editing Techniques

When you’re editing, trimming video clips is essential for keeping your narrative tight and engaging.
You should furthermore think about adding transitions seamlessly to improve the flow between scenes, making the overall viewing experience smoother.
Finally, incorporating audio elements effectively can raise your project, tying visuals and sound together to create a cohesive final product.
Trimming Video Clips
Trimming video clips is an essential skill that allows you to refine your content by eliminating unnecessary footage. This technique helps you control the duration of each segment, guaranteeing only the most relevant material makes it into your final edit.
Most video editing software, like Podcastle and Adobe Premiere Pro, provides simple trimming tools for cutting unwanted portions effortlessly. You can easily trim clips by dragging the edges in the timeline, making quick visual adjustments to find the best start and end points.
[embedded content]
Utilizing keyboard shortcuts can speed up your workflow, enabling you to cut and adjust clips efficiently. Regularly previewing your trimmed clips guarantees they maintain a smooth flow and align with your video’s overall narrative and viewer engagement.
Adding Transitions Seamlessly
Adding transitions seamlessly boosts the flow of your video, making certain that changes between clips feel natural and cohesive.
To add transitions, select the point between two clips where you want the effect to occur, and choose a desired transition from your editing software’s library. Common types include cuts, fades, dissolves, and wipes, each serving unique storytelling purposes. For instance, fades can indicate a passage of time.
Adjust the duration of each transition to control the speed; longer transitions create drama, whereas shorter ones maintain a brisk pace. Always preview transitions in the timeline to guarantee they blend well with surrounding footage and avoid distracting shifts.
Remember to use transitions sparingly and purposefully to improve your storytelling effectively.
Incorporating Audio Elements
Incorporating audio elements into your video is crucial for creating an engaging and professional final product. First, guarantee clear and balanced audio levels so that dialogue, music, and sound effects complement each other without overpowering the primary track.
Background music can improve the emotional tone, potentially increasing viewer retention by up to 50%. Utilize audio editing tools like noise reduction and equalization to eliminate background noise and refine sound clarity.
Adding well-timed sound effects can greatly improve storytelling, making the experience more immersive. Finally, layering multiple audio tracks, including voiceovers, music, and sound effects, creates a richer soundscape, providing depth and improving the narrative flow, finally contributing to a polished final edit.
Enhancing Visual Quality

When you want to improve the visual quality of your video, adjusting elements like contrast, brightness, shadows, and highlights is vital for creating a more engaging experience for viewers.
Color correction plays a significant role in ensuring that colors appear true to life throughout your footage, enhancing consistency.
You can also incorporate overlays and effects to add depth and interest, drawing attention to key elements and bolstering the storytelling.
Moreover, using motion graphics strategically can create dynamic visuals that captivate your audience, making the video more memorable.
Don’t hesitate to experiment with different styles and techniques to develop a unique aesthetic that resonates with your target audience, in the end improving your content’s overall quality.
Ensuring Consistency and Continuity
When you’re editing, maintaining visual flow is vital for keeping your audience engaged.
You’ll want to guarantee a logical sequence between clips, which can be achieved through careful trimming and effective shifts.
Moreover, color matching techniques will help create a consistent look throughout your footage, enhancing the overall viewing experience.
Maintaining Visual Flow
Maintaining visual flow is crucial for creating a cohesive viewing experience, as it guarantees that all clips harmonize in color grading and lighting, which helps preserve the audience’s immersion in the story.
To achieve this, trim clips to remove jarring cuts and use transitions that suit the pacing and mood of your video. Incorporating cutaway shots can effectively edit out awkward pauses or stutters in interviews, contributing to a smoother narrative.
Regularly review your edited footage for continuity errors, such as mismatched props or costumes, to guarantee logical coherence.
Furthermore, engaging peers for feedback during the editing process can help you spot overlooked inconsistencies that may disrupt the visual flow, eventually enhancing the overall quality of your project.
Ensuring Logical Sequence
A well-structured logical sequence in your video not only boosts viewer comprehension but moreover keeps them engaged throughout the narrative. To achieve this, guarantee all clips flow coherently, avoiding abrupt shifts that can confuse viewers. Use trimming techniques to eliminate unnecessary pauses or stutters, improving the pacing of your video. Furthermore, employ cutaways strategically to bridge gaps in dialogue or action, maintaining continuity without disrupting the story’s progression. Regularly review your edited footage to identify and address any inconsistencies before finalizing the video.
| Technique | Purpose |
|---|---|
| Trimming | Boosts pacing and flow |
| Cutaways | Bridges gaps in dialogue or action |
| Consistent Style | Creates a unified look |
| Coherent Flow | Improves viewer comprehension |
| Regular Reviews | Guarantees logical sequencing and continuity |
Color Matching Techniques
Color matching techniques are essential for achieving visual consistency across different shots in your video, as they help create a cohesive look and feel that improves viewer engagement.
Here are three key methods to master:
- Use Color Wheels and Curves: Adjust individual color channels to fine-tune your footage, ensuring each shot matches seamlessly.
- Reference Charts: Utilize a color checker during filming to establish a baseline, simplifying the matching process in post-production.
- Analyze with Monitors: Employ histogram and waveform monitors to assess color balance and exposure, identifying discrepancies between clips.
Gathering Feedback for Improvement

How do you know if your edits are truly effective? Gathering feedback is vital for identifying strengths and weaknesses in your work. Start by reaching out to peers and your target audience, as their insights can guide your improvements.
Use tools like Dropbox Replay for organized feedback, allowing collaborators to leave frame-accurate comments directly on your video. When asking for feedback, provide specific questions to direct reviewers’ focus, ensuring their insights remain constructive and relevant.
Consider utilizing anonymous feedback forms to encourage honesty without the influence of personal relationships. Regularly implementing this feedback and iterating on your edits promotes continuous improvement, eventually enhancing the overall quality of your final product.
Advanced Editing Techniques
In terms of advanced editing techniques, perfecting color grading, sound design, and visual effects can greatly improve your project’s quality.
Color grading helps you set the right mood by adjusting hues and saturation, whereas sound design involves layering audio tracks for a richer auditory experience.
Furthermore, integrating visual effects can captivate your audience and enhance your storytelling by adding dynamic elements to your videos.
Color Grading Techniques
Achieving the desired mood and aesthetic in video editing relies heavily on effective color grading techniques. By employing these methods, you can substantially improve your visual storytelling.
Here are three key techniques to take into account:
- Utilize LUTs: Look-Up Tables allow you to apply consistent color palettes across your footage, streamlining your editing process.
- Adjust Basic Settings: Tweak exposure, contrast, saturation, and hue to influence the video’s overall feel, making it more engaging for viewers.
- Implement Secondary Color Correction: This technique lets you manipulate specific colors within the frame, which can highlight important elements or create visual contrast.
Incorporating scopes like waveform monitors and vectorscopes guarantees accurate color representation, maintaining professional quality throughout your edits.
Sound Design Essentials
Effective sound design plays an essential role in video editing, complementing the visual elements and enhancing the overall storytelling experience.
To create a rich auditory environment, layer various audio components like dialogue, sound effects, and ambient sounds. Use audio editing software to apply techniques such as equalization (EQ) for frequency balancing, dynamic range compression for consistent audio levels, and reverb to establish a sense of space.
Incorporating Foley can add realism, making scenes more relatable through everyday sound reproduction. Strategically integrating music can evoke emotions and set the scene’s tone, ensuring it complements rather than overshadows dialogue.
Furthermore, consider using binaural audio for immersive experiences, allowing listeners to perceive sound as if they’re within the scene, enhancing engagement.
Visual Effects Integration
Visual effects integration greatly improves your video projects by combining multiple visual elements into a cohesive narrative.
To effectively implement visual effects, consider these techniques:
[embedded content]
- Keyframing: This technique allows you to create dynamic movements, giving you precise control over timing and positioning throughout the sequence.
- Motion Tracking: Use this to guarantee effects follow moving subjects, maintaining realism and consistency within your scenes.
- Color Grading: Adjusting color can drastically change the mood of your video, creating a cohesive visual style that improves storytelling.
Additionally, incorporating particle effects like smoke or rain adds depth, enriching the viewer’s experience.
Tailoring Edits for Different Platforms
When you create content, comprehension of how to tailor your edits for different platforms can greatly impact your engagement and reach.
For TikTok, keep videos between 15 to 60 seconds, using trendy sounds and text overlays to boost visibility.
On Instagram, prioritize high-quality visuals in a square format for posts and portrait mode for stories; don’t forget captions, as many users watch without sound.
YouTube videos should be 5 to 20 minutes long, featuring strong introductions, engaging B-roll footage, and clear calls to action.
For Facebook, aim for videos around 1 minute, incorporating engaging thumbnails and captions.
Finally, LinkedIn videos should last 30 seconds to 2 minutes, focusing on industry insights to resonate with professionals.
Exporting Your Final Video
Exporting your final video is a crucial step in the content creation process, as it guarantees that your hard work translates into a high-quality viewing experience for your audience.
Here’s how to make sure you get it right:
- Choose the Right Format: Export in lossless or uncompressed formats like ProRes or DNxHD to maintain the highest quality.
- Set Resolution and Aspect Ratio: Tailor these settings to your target platform; for example, use 1080p for YouTube and 720p for social media.
- Utilize Exporting Software: Use tools such as Adobe Media Encoder or Apple Compressor to streamline the process and access platform-specific presets.
Always conduct a final review of your exported video to catch any audio or visual issues before sharing it with your audience.
Resources for Further Learning
Broadening your knowledge in video editing can greatly improve your skills and creativity.
Start by exploring free video editing tutorials on YouTube, where you’ll find a variety of lessons that cater to all skill levels, from beginners to advanced techniques.
If you seek structured learning, consider enrolling in paid masterclasses on platforms like Udemy or Skillshare; these offer extensive courses on video editing concepts and software usage.
Joining community forums and groups can likewise be beneficial, as they allow you to share experiences and receive feedback from fellow editors.
Don’t overlook official resources like Adobe‘s tutorials, which provide crucial tips.
Furthermore, experimenting with AI-powered editing tools like Podcastle can improve your practical skills through real-time feedback.
Tips for Efficient Editing
To make your editing process more efficient, it’s vital to establish an organized workflow right from the start. Here are some tips to help you streamline your editing:
- Organize Your Files: Create clearly labeled folders for your footage and resources. This practice allows for easy access and saves time during editing.
- Choose User-Friendly Software: Utilize editing programs like Podcastle, which offer drag-and-drop functionality and AI tools that make editing easier, particularly for beginners.
- Implement Basic Techniques: Focus on cutting, cropping, and using smooth shifts to maintain a coherent narrative. Additionally, balance audio levels and remove background noise for professional-quality sound.
Regular practice and experimentation with various styles will improve your skills and creativity in video production.
Frequently Asked Questions

How to Do Editing Step by Step?
To edit effectively, start by importing your footage into organized bins for easy access.
Next, create an assembly edit to outline your video’s structure and identify where to place graphics and B-roll.
Improve your narrative with supportive B-roll and text graphics.
After that, conduct color correction and adjust audio levels for consistency.
[embedded content]
Finally, send a draft to clients for feedback and collaborate on revisions to meet quality standards and expectations.
What Are the 5 Steps of the Editing Process?
The five steps of the editing process include:
1) Pre-editing preparation, where you import and organize your footage.
2) Creating assembly edits to establish the video’s structure.
3) Enhancing the narrative by integrating B-roll, text, and motion graphics.
4) Finalizing audio and visuals through color correction and sound integration.
5) Client interaction, where you send the draft for feedback, make revisions, and guarantee the final product meets quality standards.
What Are the 12 Basic Steps of Editing?
The 12 basic steps of editing start with preparing your workspace and organizing footage into labeled folders.
Next, create assembly edits to outline your story, then improve it with B-roll and graphics.
Finalize audio and visuals through color correction and audio balancing.
Throughout the process, integrate client feedback to guarantee the project meets expectations.
Finally, prepare for client interaction and finalize your edited product, confirming everything aligns with quality standards.
What Are the 5 Stages of Video Editing?
The five stages of video editing are crucial for creating a polished product.
First, you’ll prepare by organizing and importing your footage.
Next, during the initial editing process, you’ll create assembly edits to establish a basic structure.
Then, you’ll improve the narrative by integrating B-roll and graphics.
After that, focus on finalizing audio and visuals, ensuring everything is color-corrected and well-paced.
Finally, you’ll interact with clients for feedback and make necessary revisions.
Conclusion

To sum up, effective video editing involves a systematic approach, from choosing the right software to tailoring your final product for specific platforms. By organizing your footage, applying basic techniques, and enhancing visual quality, you can create a polished final video. Remember to seek feedback for improvement and focus on consistency throughout your edits. With practice and the right resources, you’ll refine your skills, making your video editing process more efficient and effective in achieving your goals.
Image via Google Gemini


