Phantom Blade Zero’s A Healer’s Mercy tale sees you helping Yu’er. The healer wishes to tend to the wounded in the forest, but the monsters are a grave threat to her. Noting this, it is up to you to deliver medicine to the wounded on her behalf.
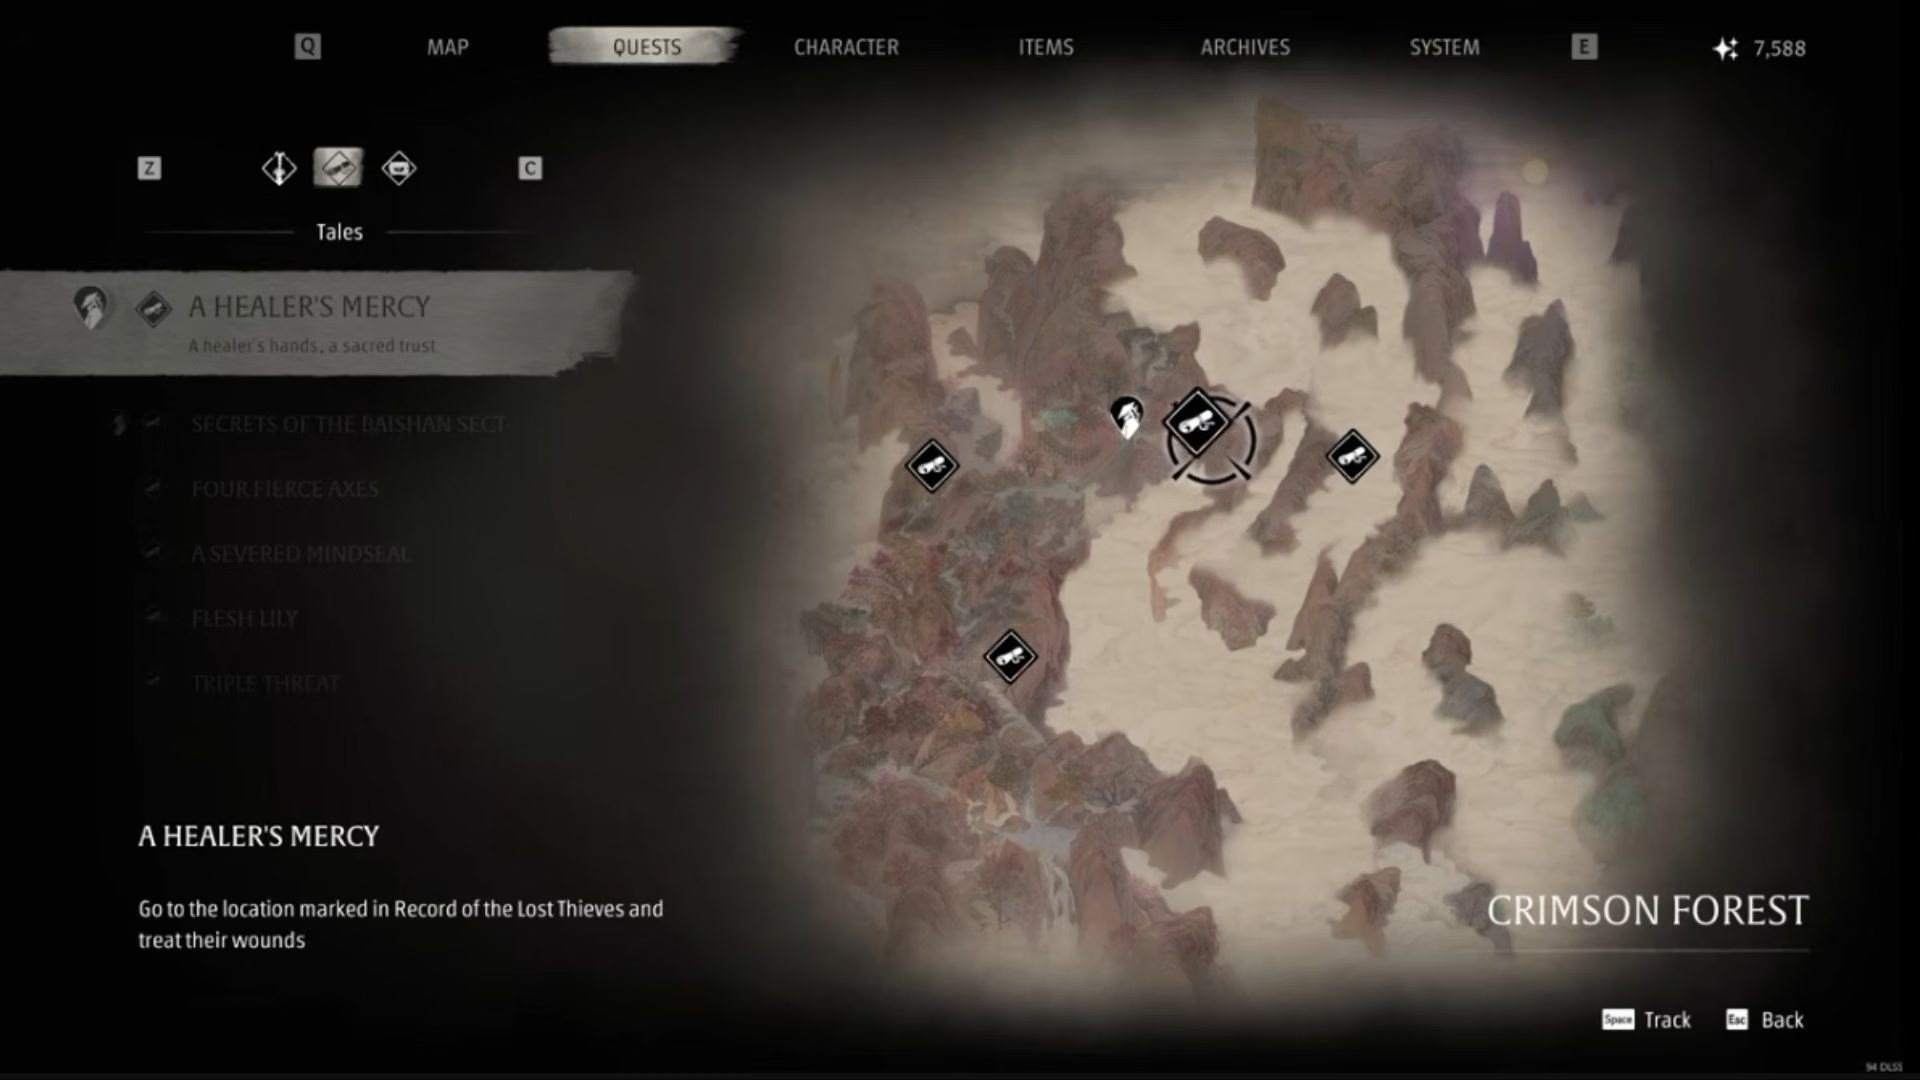
The quest requires you to find four wounded thieves across the Crimson Forest. The map is fairly large, making this task quite complicated. If you’re struggling to get through this quest, we’re here to help.
How to start A Healer’s Mercy tale in Phantom Blade Zero
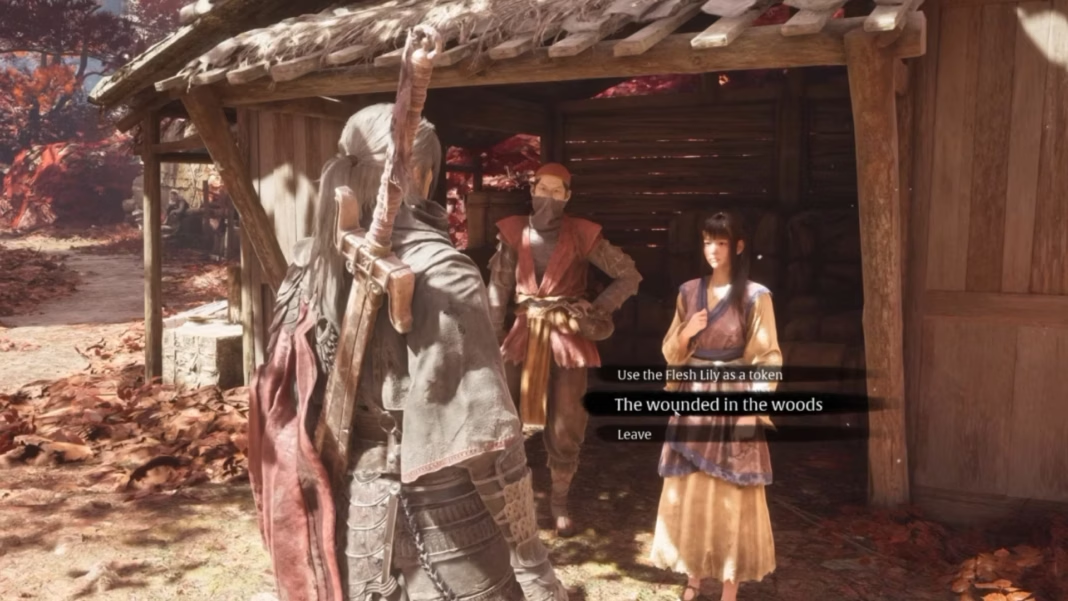
You begin the A Healer’s Mercy quest by speaking to Yu’er in the Thieves’ Camp in the Crimson Forest. She’ll tell you she couldn’t stand by and came here to tend to the wounded.
Ask her about the wounded people in the woods, and you’ll learn of four thieves still stuck in the forest, in dire need of medicine. Your job now is to deliver medicine to them. Wrap up the conversation with Yu’er to begin the quest.
How to complete A Healer’s Mercy tale in Phantom Blade Zero
Thief #1
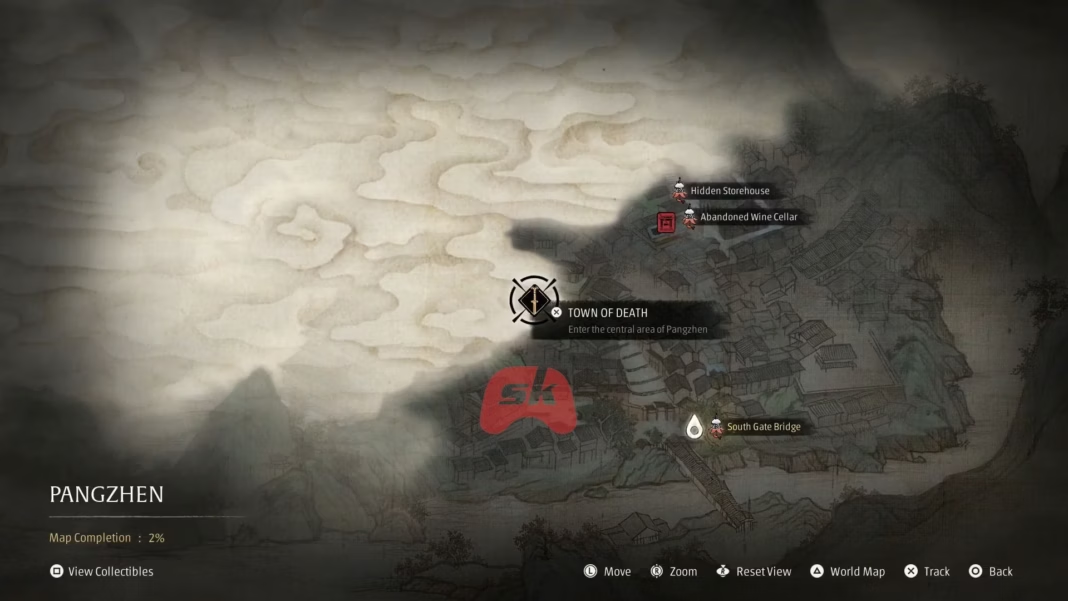
” srcset=”https://www.sme-insights.co.uk/wp-content/uploads/2026/10/1bd7a-17934383364507-1920.avif?w=190 190w, https://www.sme-insights.co.uk/wp-content/uploads/2026/10/1bd7a-17934383364507-1920.avif?w=720 720w, https://www.sme-insights.co.uk/wp-content/uploads/2026/10/1bd7a-17934383364507-1920.avif?w=640 640w, https://www.sme-insights.co.uk/wp-content/uploads/2026/10/1bd7a-17934383364507-1920.avif?w=1045 1045w, https://www.sme-insights.co.uk/wp-content/uploads/2026/10/1bd7a-17934383364507-1920.avif?w=1200 1200w, https://www.sme-insights.co.uk/wp-content/uploads/2026/10/1bd7a-17934383364507-1920.avif?w=1460 1460w, https://www.sme-insights.co.uk/wp-content/uploads/2026/10/1bd7a-17934383364507-1920.avif?w=1600 1600w, https://www.sme-insights.co.uk/wp-content/uploads/2026/10/1bd7a-17934383364507-1920.avif 1920w”>The four thieves are marked on your map (Image via S-Game Publishing || YouTube/@ConCon)
Fast-travel to the Outlaw Trap Bell in the Crimson Forest. Head north from here, and then take the first right. You’ll find the first wounded thief on the floor, with a bright torch burning by him. Offer the medicine to him, and then head down the path ahead to acquire the Crimson Forest Tunnel Crank.
Thief #2
” srcset=”https://www.sme-insights.co.uk/wp-content/uploads/2026/10/21486-17934388681898-1920.avif?w=190 190w, https://www.sme-insights.co.uk/wp-content/uploads/2026/10/21486-17934388681898-1920.avif?w=720 720w, https://www.sme-insights.co.uk/wp-content/uploads/2026/10/21486-17934388681898-1920.avif?w=640 640w, https://www.sme-insights.co.uk/wp-content/uploads/2026/10/21486-17934388681898-1920.avif?w=1045 1045w, https://www.sme-insights.co.uk/wp-content/uploads/2026/10/21486-17934388681898-1920.avif?w=1200 1200w, https://www.sme-insights.co.uk/wp-content/uploads/2026/10/21486-17934388681898-1920.avif?w=1460 1460w, https://www.sme-insights.co.uk/wp-content/uploads/2026/10/21486-17934388681898-1920.avif?w=1600 1600w, https://www.sme-insights.co.uk/wp-content/uploads/2026/10/21486-17934388681898-1920.avif 1920w”>Use the tunnel crank here (Image via S-Game Publishing || YouTube/@ConCon)
With the tunnel crank in hand, return to the Outlaw Trap Bell, and you can use it to unlock the tunnel next to the fast-travel point. Drop down into the tunnel, and then further down the ladder. Take a right and cross the bridge, and stick to the tunnel on the left. You’ll find the second wounded thief ahead.
Thief #3
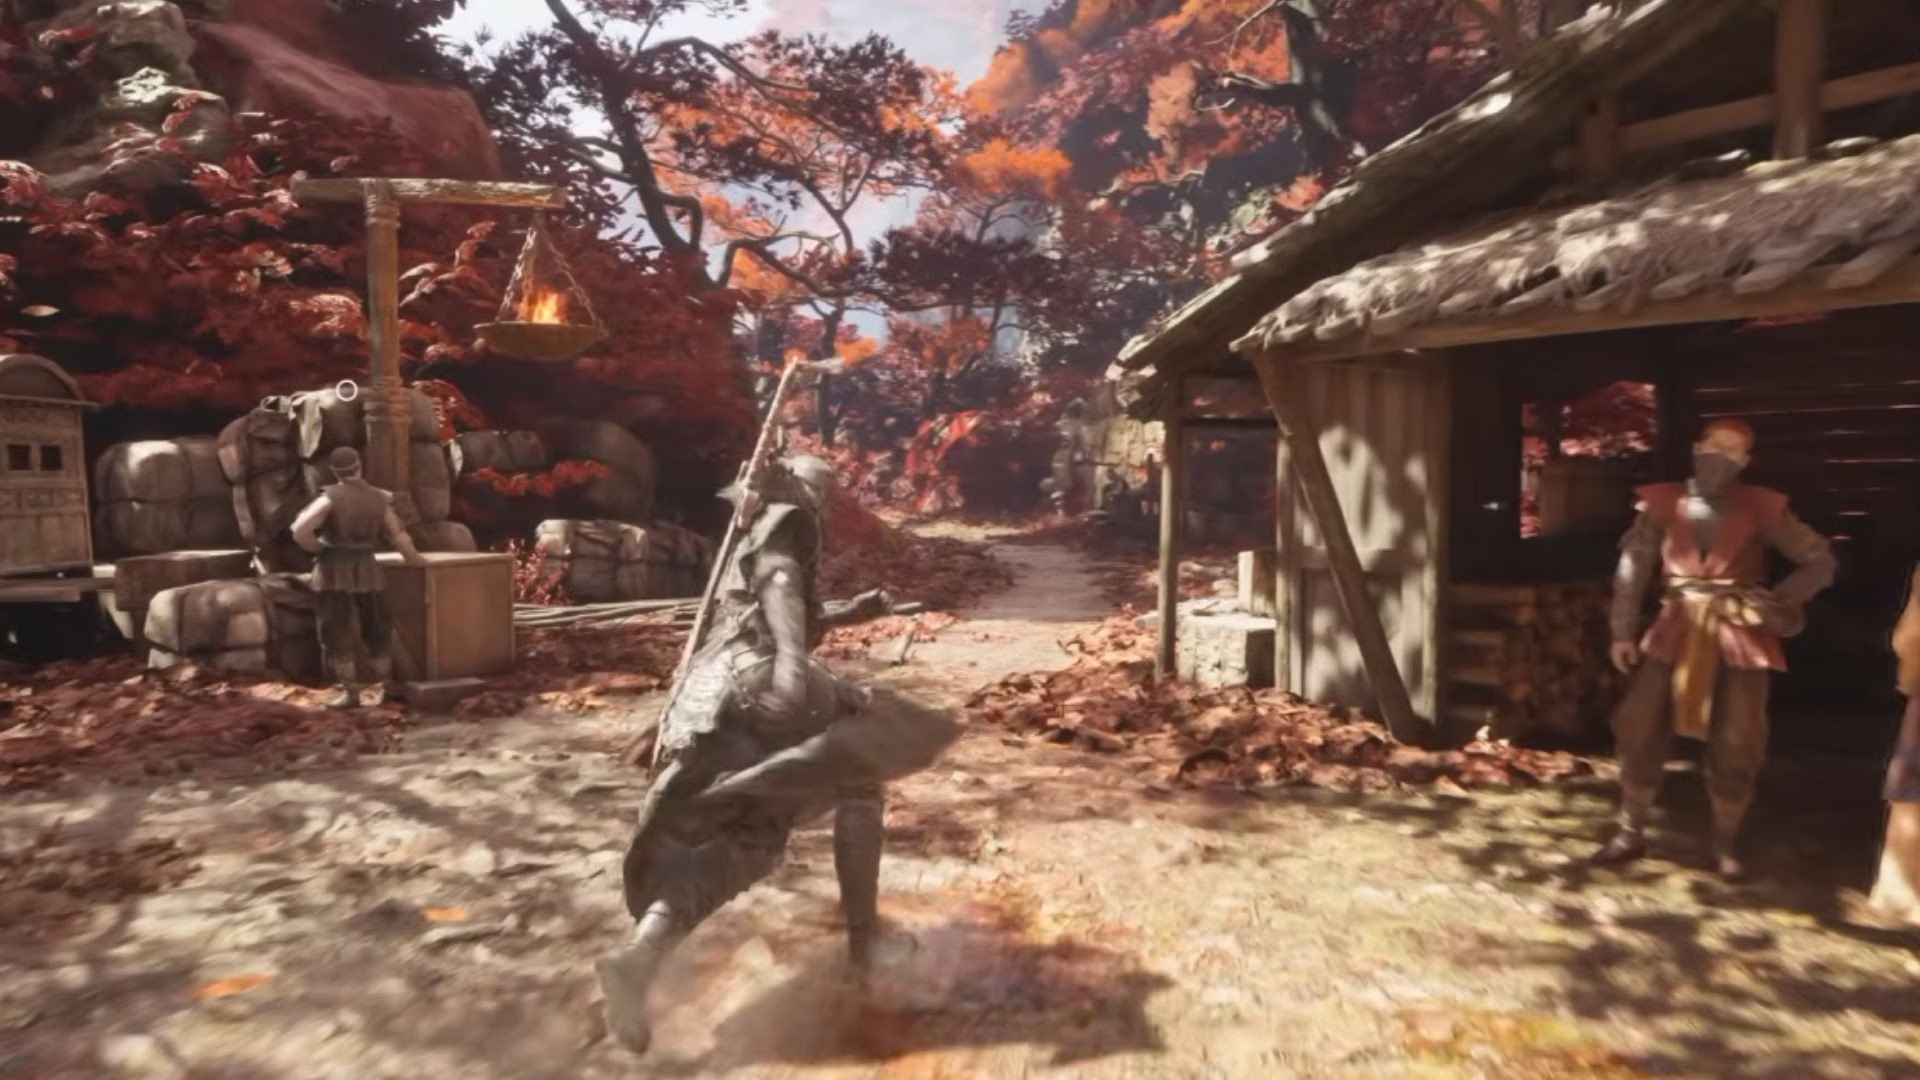
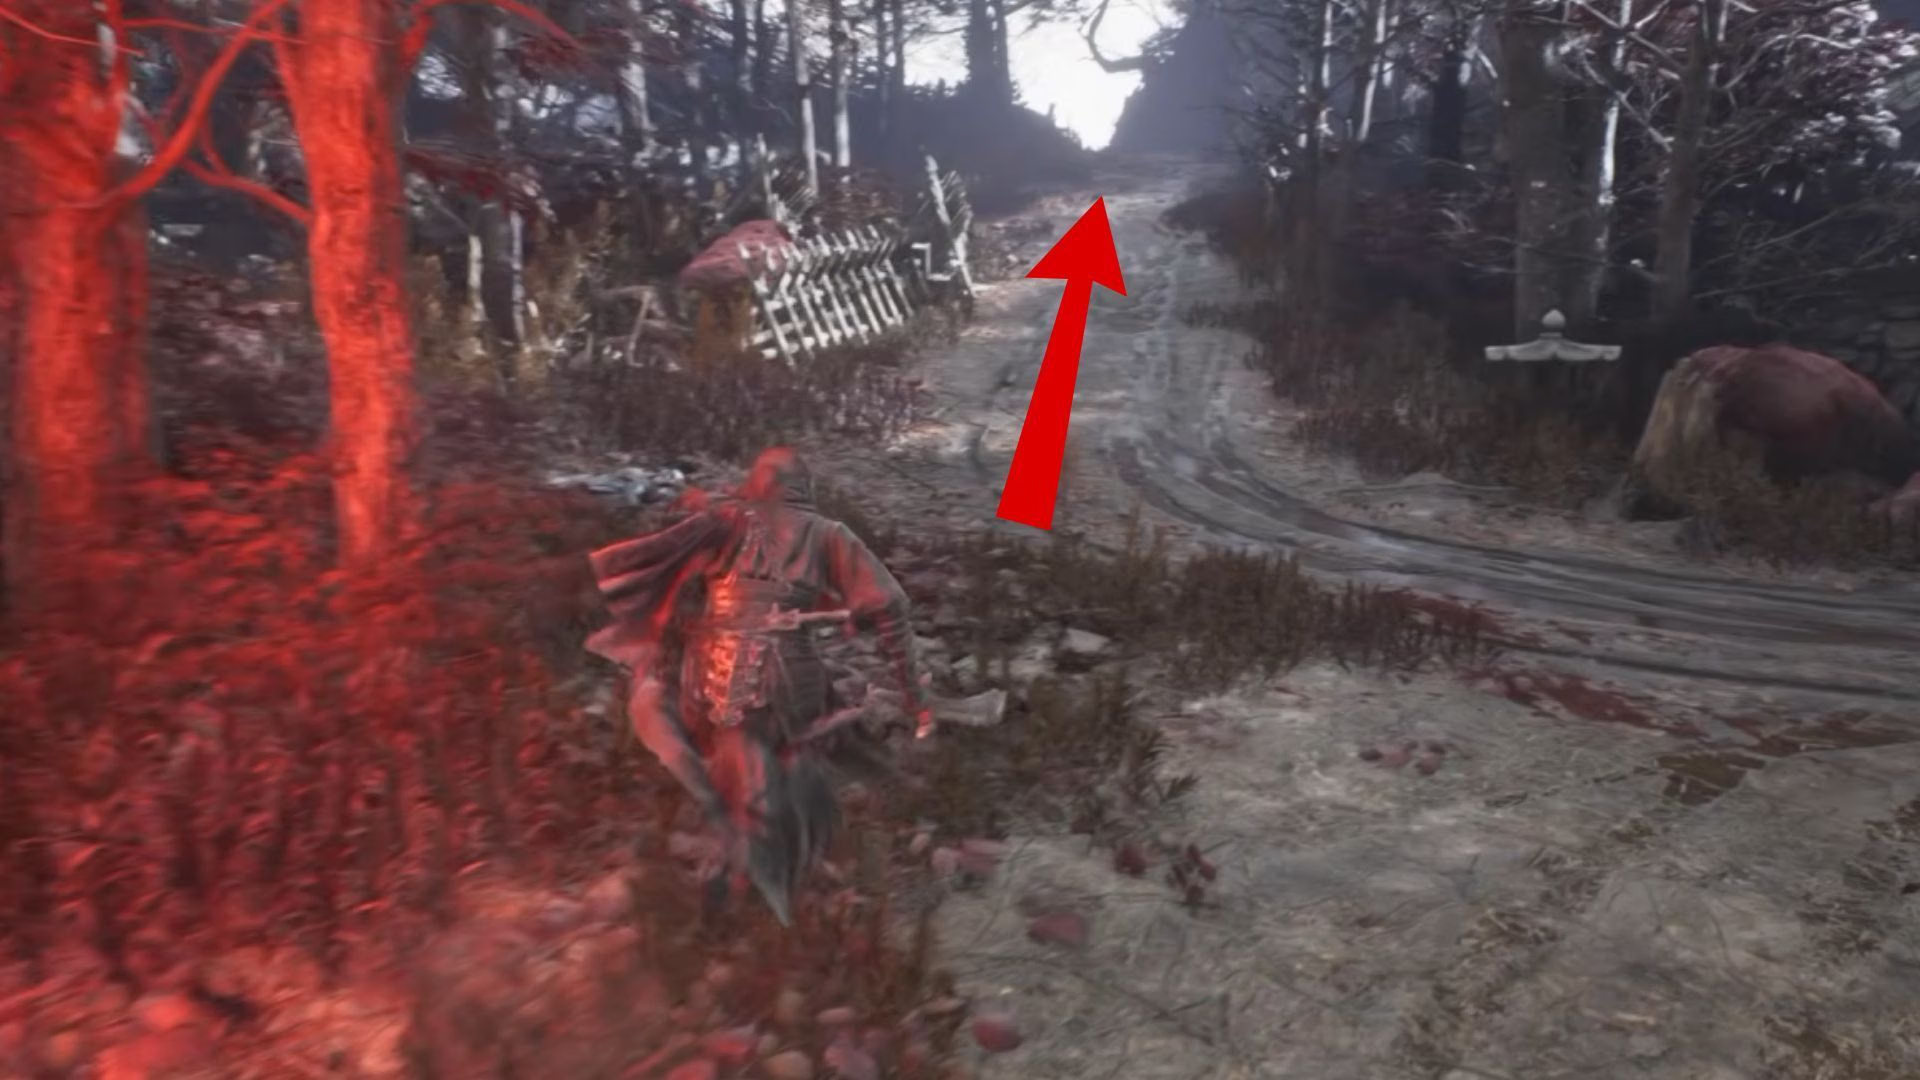
” srcset=”https://www.sme-insights.co.uk/wp-content/uploads/2026/10/d86c9-17934391154659-1920.avif?w=190 190w, https://www.sme-insights.co.uk/wp-content/uploads/2026/10/d86c9-17934391154659-1920.avif?w=720 720w, https://www.sme-insights.co.uk/wp-content/uploads/2026/10/d86c9-17934391154659-1920.avif?w=640 640w, https://www.sme-insights.co.uk/wp-content/uploads/2026/10/d86c9-17934391154659-1920.avif?w=1045 1045w, https://www.sme-insights.co.uk/wp-content/uploads/2026/10/d86c9-17934391154659-1920.avif?w=1200 1200w, https://www.sme-insights.co.uk/wp-content/uploads/2026/10/d86c9-17934391154659-1920.avif?w=1460 1460w, https://www.sme-insights.co.uk/wp-content/uploads/2026/10/d86c9-17934391154659-1920.avif?w=1600 1600w, https://www.sme-insights.co.uk/wp-content/uploads/2026/10/d86c9-17934391154659-1920.avif 1920w”>Take the road past Yu’er (Image via S-Game Publishing || YouTube/@ConCon)
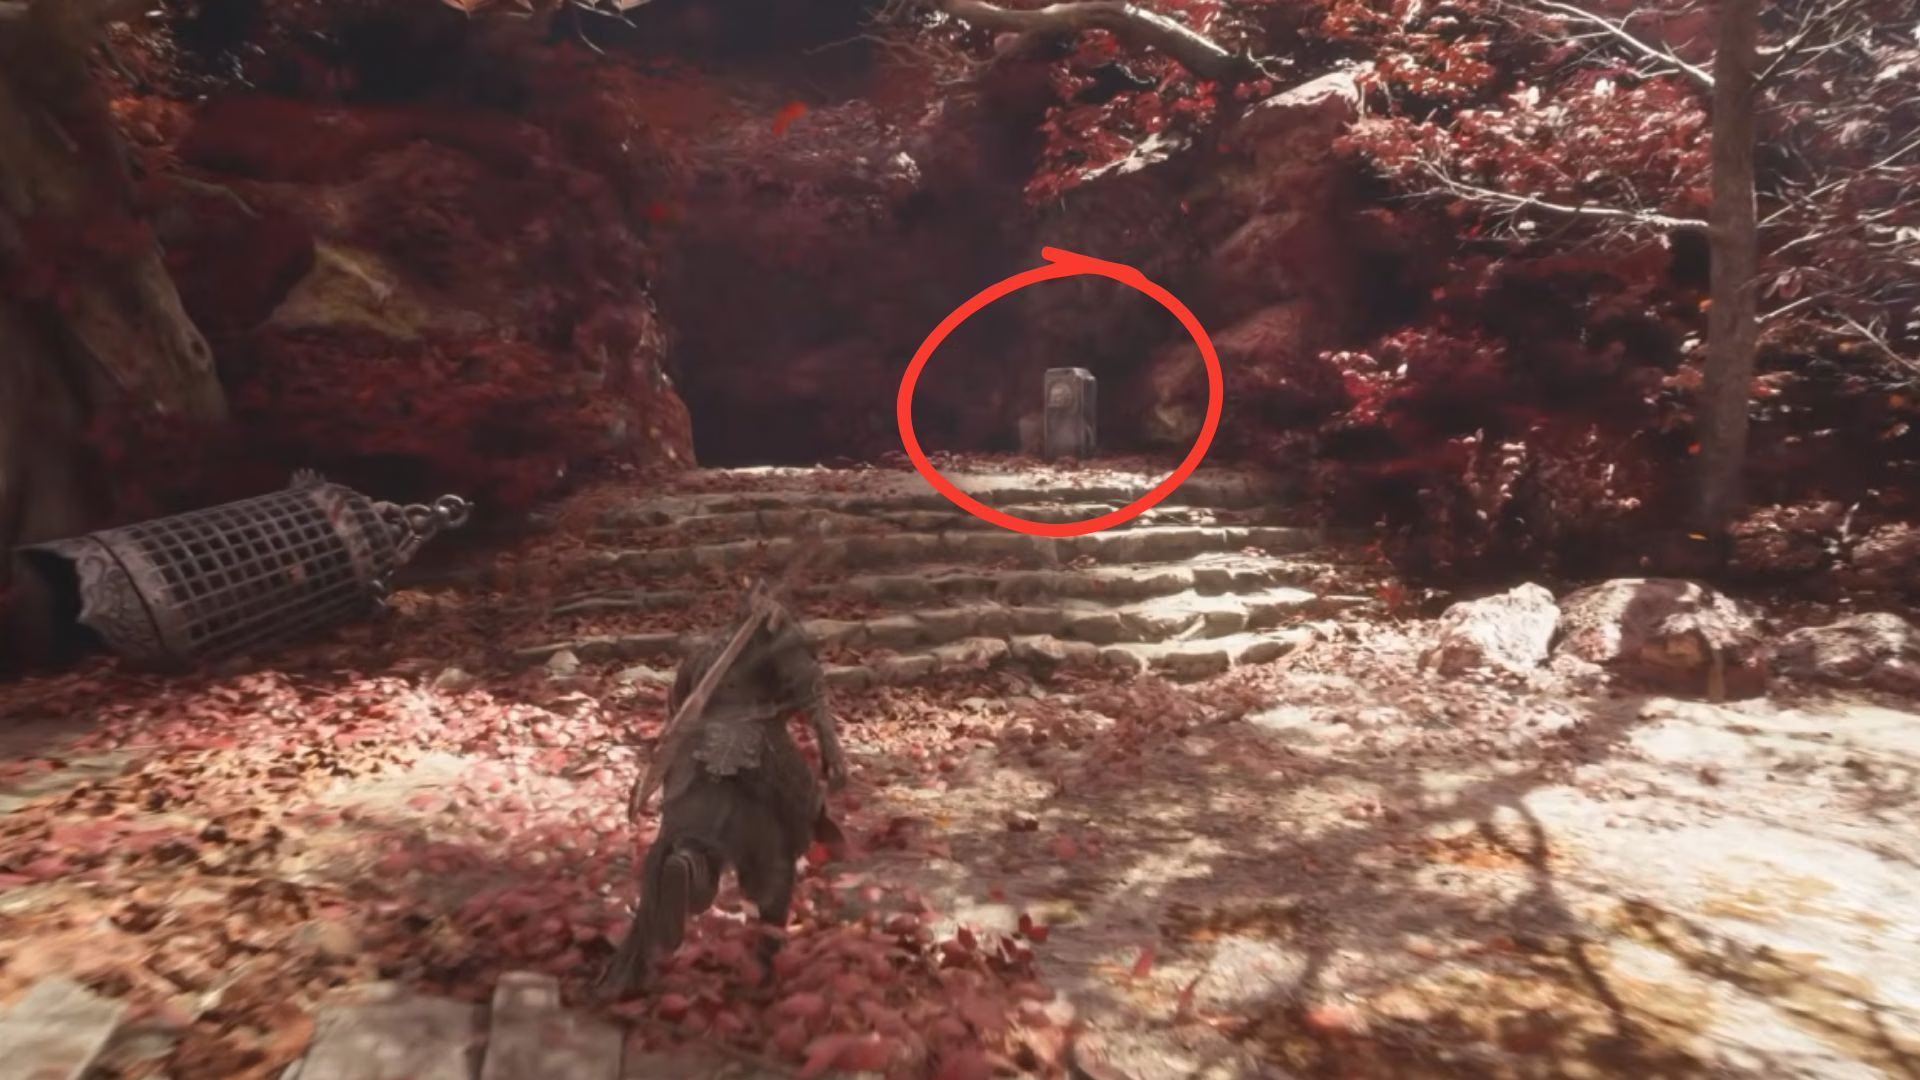
Next, return to the Thieves’ Camp and take the road past Yu’er, as shown in the image above. The linear path will cut across a cliffside, eventually leading you to a cave, and out through its other end. You’ll arrive at the Forest Outpost, but its door will be locked.
Turn around and take the path opposite the village gate. You’ll find a bunch of houses here. Enter the house which has a torch lit by its staircase. You’ll find the Forest Outpost Courtyard Key inside this house.
Activate the Red Serpent House Bell, and then take the path to your right, as shown in the image above. The path will take you through a cliffside with scaffolding, and will eventually lead you to a giant house. Keep note of this house because we need to return here later.
Take a left before the house, and walk to the dilapidated stables. You’ll find a ladder next to them. The third wounded thief is at the bottom of this ladder. Tend to his wounds, and then we can move to the next thief.
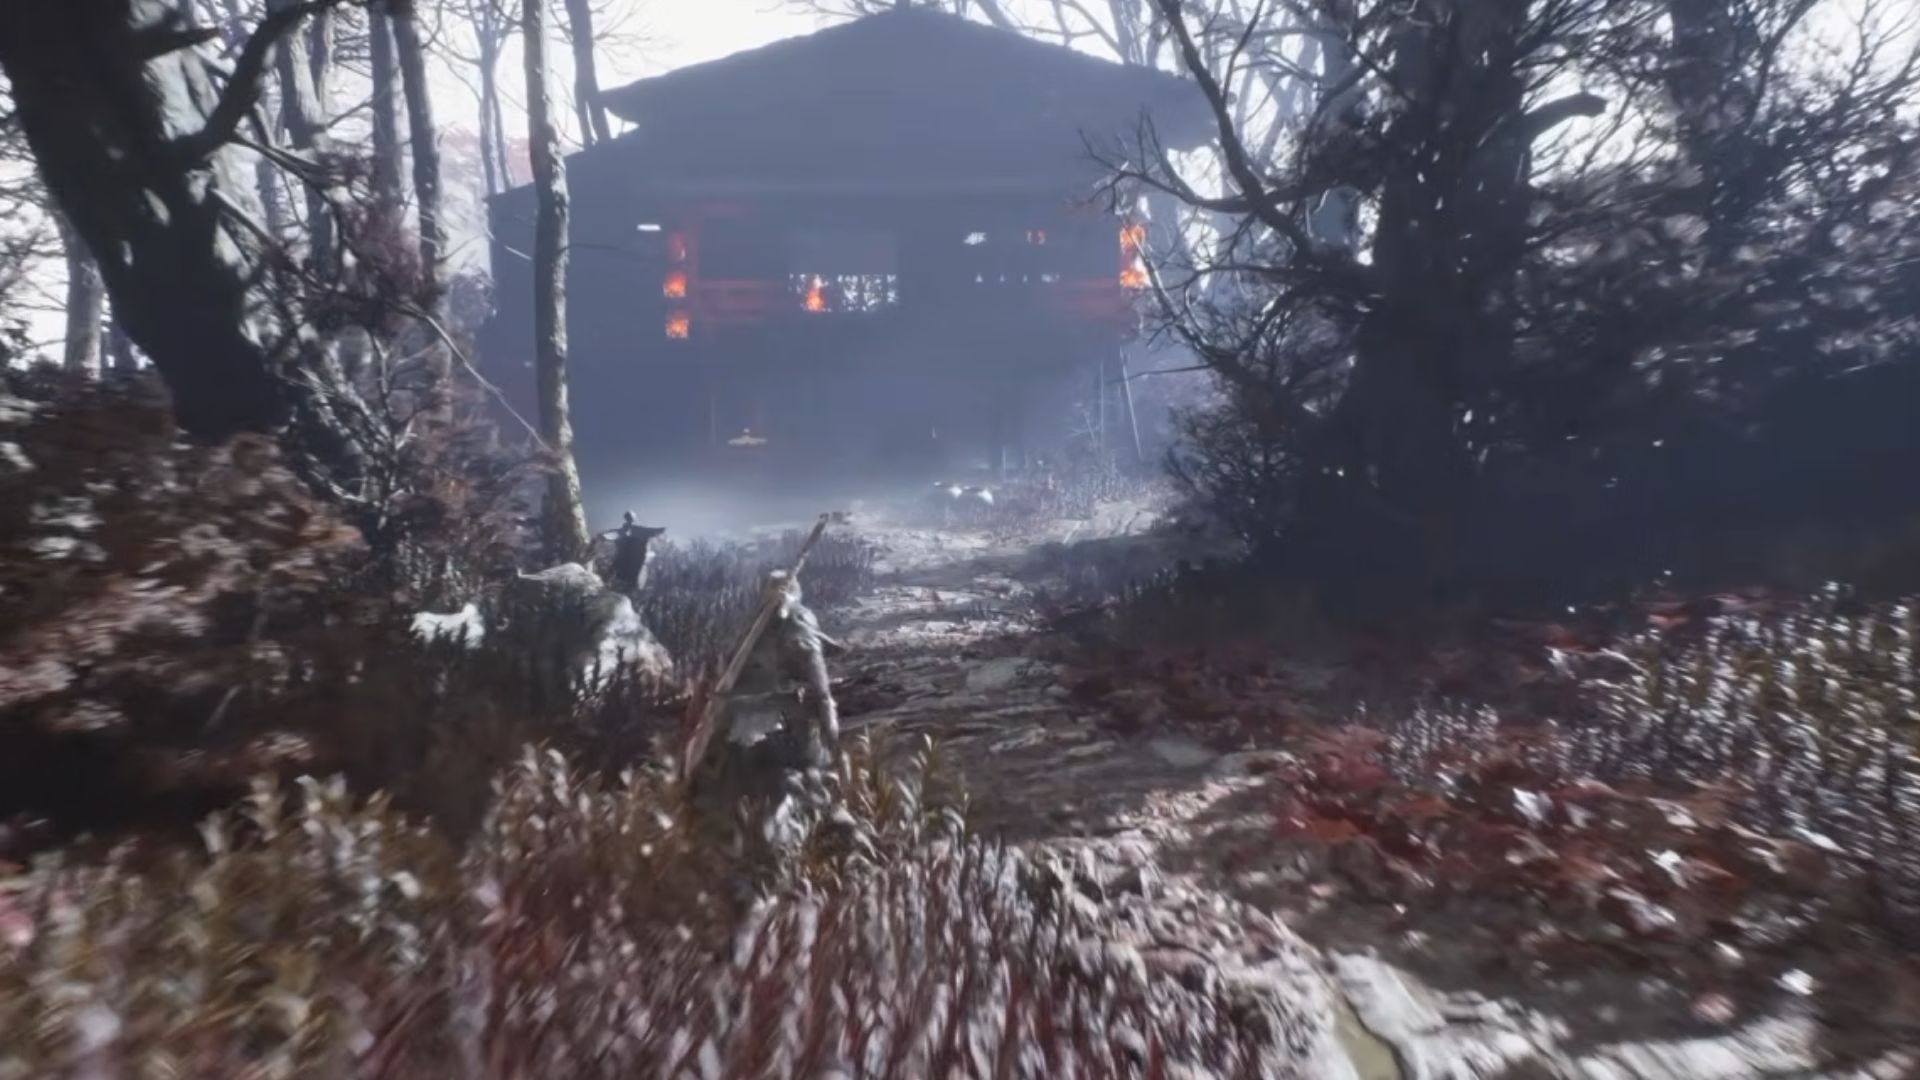
” srcset=”https://www.sme-insights.co.uk/wp-content/uploads/2026/10/586cb-17934398688125-1920.avif?w=190 190w, https://www.sme-insights.co.uk/wp-content/uploads/2026/10/586cb-17934398688125-1920.avif?w=720 720w, https://www.sme-insights.co.uk/wp-content/uploads/2026/10/586cb-17934398688125-1920.avif?w=640 640w, https://www.sme-insights.co.uk/wp-content/uploads/2026/10/586cb-17934398688125-1920.avif?w=1045 1045w, https://www.sme-insights.co.uk/wp-content/uploads/2026/10/586cb-17934398688125-1920.avif?w=1200 1200w, https://www.sme-insights.co.uk/wp-content/uploads/2026/10/586cb-17934398688125-1920.avif?w=1460 1460w, https://www.sme-insights.co.uk/wp-content/uploads/2026/10/586cb-17934398688125-1920.avif?w=1600 1600w, https://www.sme-insights.co.uk/wp-content/uploads/2026/10/586cb-17934398688125-1920.avif 1920w”>Go to this building (Image via S-Game Publishing || YouTube/@ConCon)
Now, return to the giant house we mentioned earlier, the one shown in the image above. Enter the small hut connected to the house and exit through the other end. You’ll find a ladder, which will take you to the second floor of the house. You’ll find the Crimson Forest Cellar Crank here.
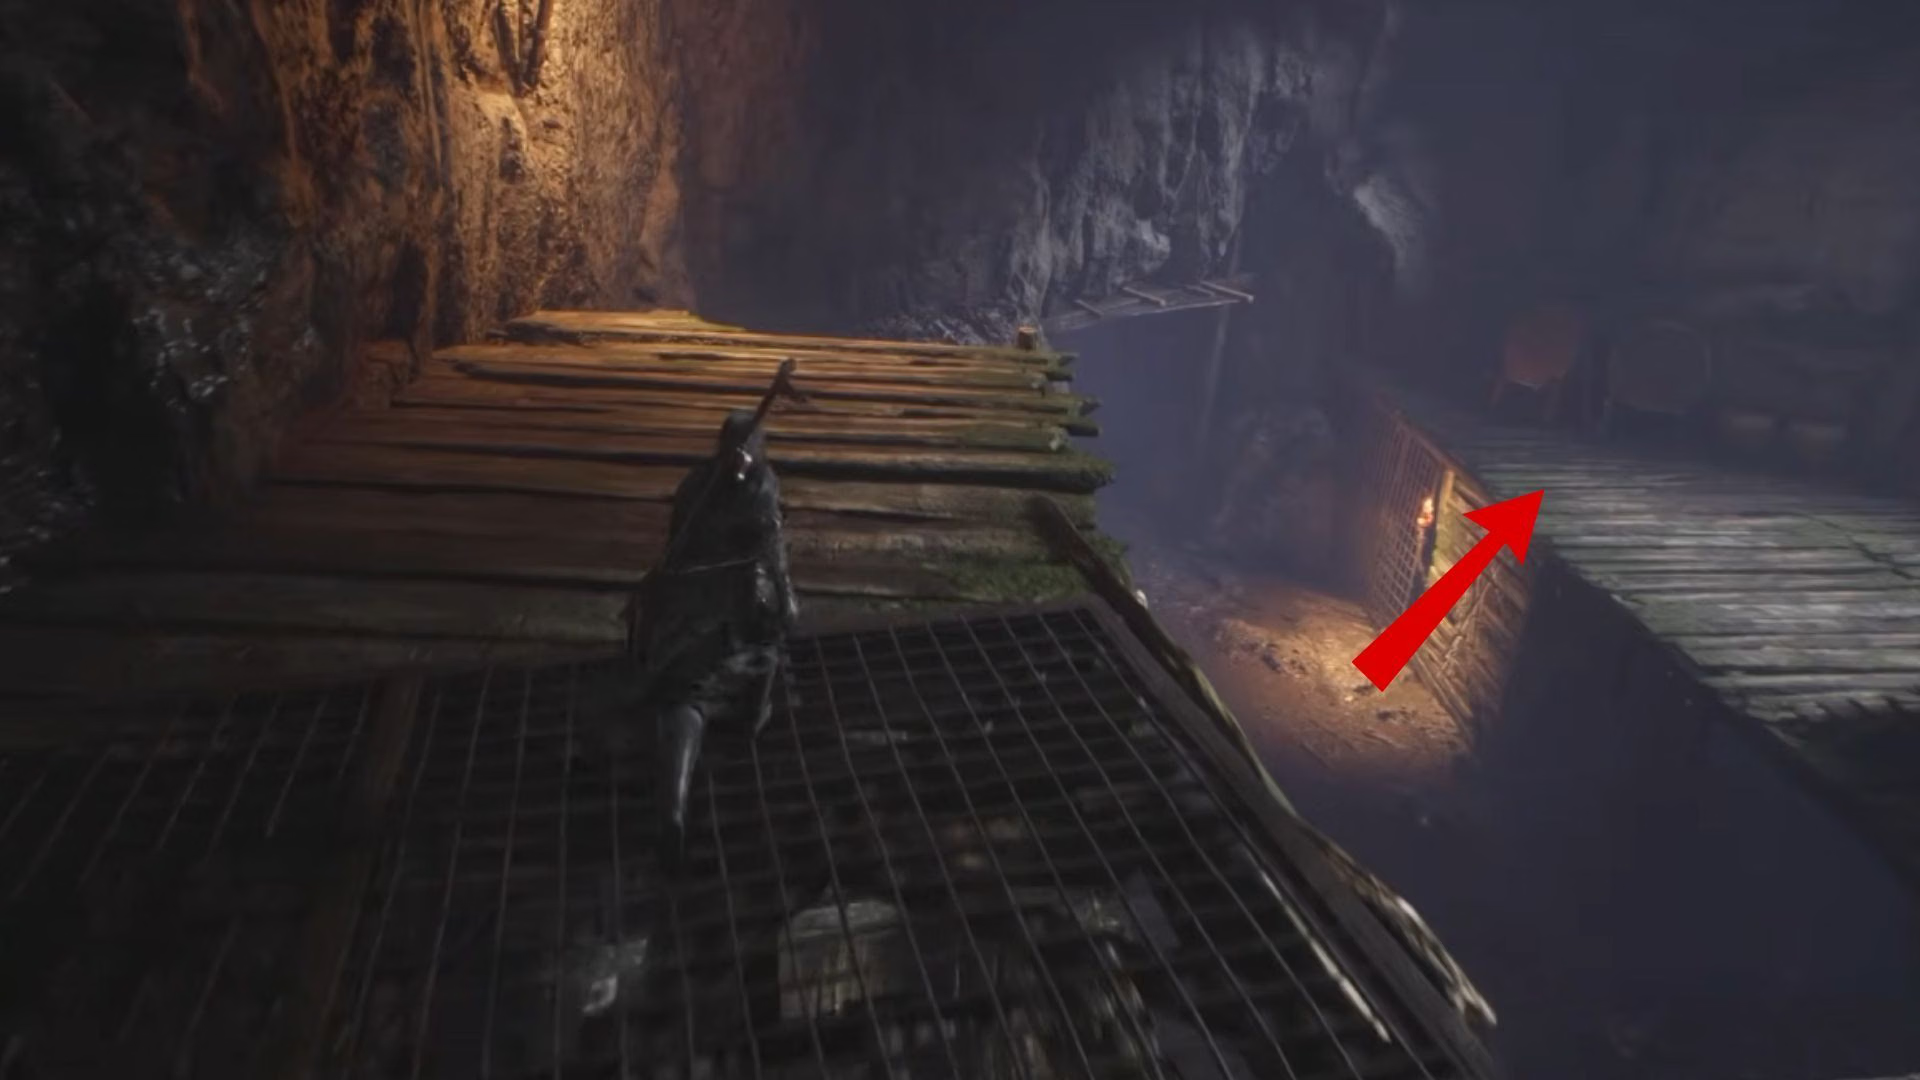
” srcset=”https://www.sme-insights.co.uk/wp-content/uploads/2026/10/5c597-17934401408428-1920.avif?w=190 190w, https://www.sme-insights.co.uk/wp-content/uploads/2026/10/5c597-17934401408428-1920.avif?w=720 720w, https://www.sme-insights.co.uk/wp-content/uploads/2026/10/5c597-17934401408428-1920.avif?w=640 640w, https://www.sme-insights.co.uk/wp-content/uploads/2026/10/5c597-17934401408428-1920.avif?w=1045 1045w, https://www.sme-insights.co.uk/wp-content/uploads/2026/10/5c597-17934401408428-1920.avif?w=1200 1200w, https://www.sme-insights.co.uk/wp-content/uploads/2026/10/5c597-17934401408428-1920.avif?w=1460 1460w, https://www.sme-insights.co.uk/wp-content/uploads/2026/10/5c597-17934401408428-1920.avif?w=1600 1600w, https://www.sme-insights.co.uk/wp-content/uploads/2026/10/5c597-17934401408428-1920.avif 1920w”>Reach the end and cross to the other side (Image via S-Game Publishing || YouTube/@ConCon)
Take the crank and use it to unlock the cellar entrance on the first floor of the house. Enter the cellar, and then stick to the path to your left till you reach a dead end. Jump into the pit below, then scale the wall with the torch on it to reach the other side.
Now, you’ll see a glowing item in the distance. This is the Thieves’ Camp Dungeon Key. Collect the key and return to the Thieves’ Camp. Head to the locked gate in this camp, which is down the path right opposite to Yu’er. You can unlock this locked gate using the key you acquired, and you’ll find the final thief inside.
After all four thieves have been taken care of, return to Yu’er and select the “The wounded in the woods” dialogue option. This will conclude the Healer’s Mercy quest in Phantom Blade Zero. As a reward for completing this quest, you’ll acquire the Calming Gourd accessory, which lets you recover from a guard break and prevents Sha-Chi consumption for 3 seconds.
Check out more topics below:
Are you stuck on today’s Wordle? Our Wordle Solver will help you find the answer.